3D customized car

Background
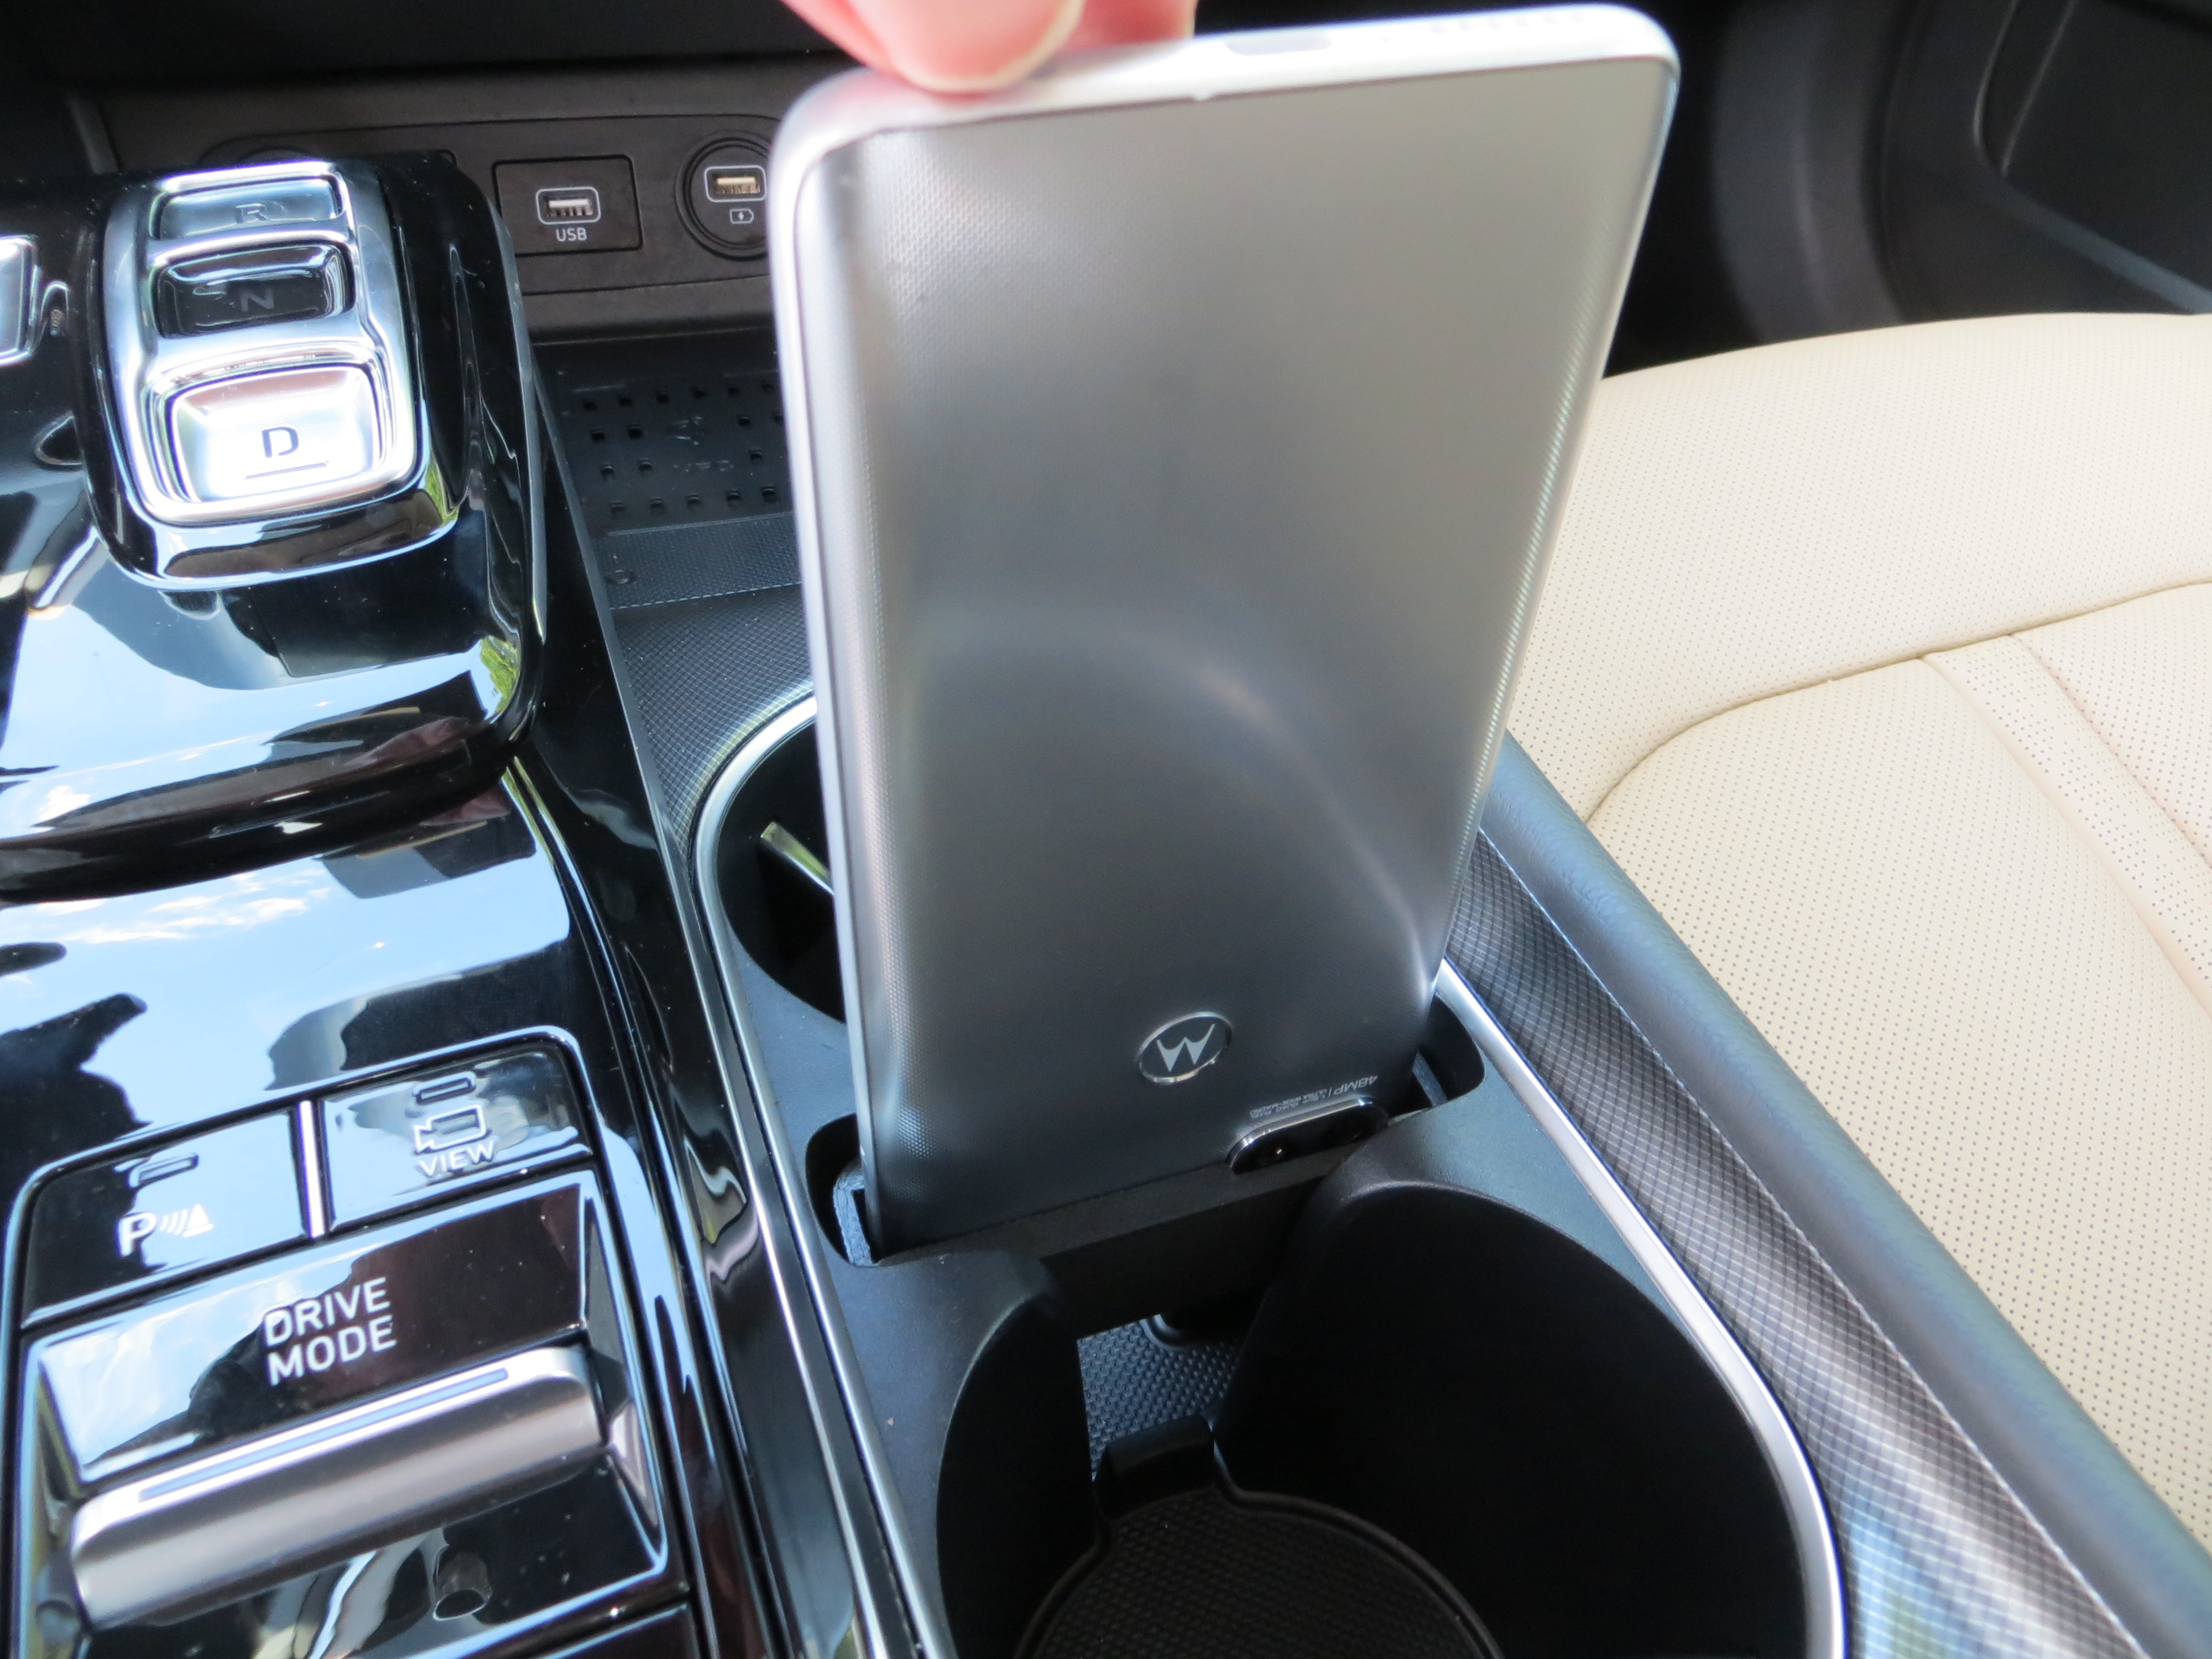
I recently acquired a new Hyundai Sonata Hybrid. The features and tech are amazing. And it has a nice feature I haven't seen in other cars. It has a phone slot in between the cup holders. It's a very convenient location where the phone is accessible but can be flipped upside down to plug it into the USB slot for Apple Carplay or Android Auto. The slot is a standard size that should fit most phones (including mine).
The problem is that if the phone is too skinny and without a protective case, it bounces around in the slot when driving. I'm sure most drivers of this car have a case on their phone so that this isn't an issue. However, I tend to prefer a caseless phone so when I put my phone in there, it did indeed bounce around quite a bit.
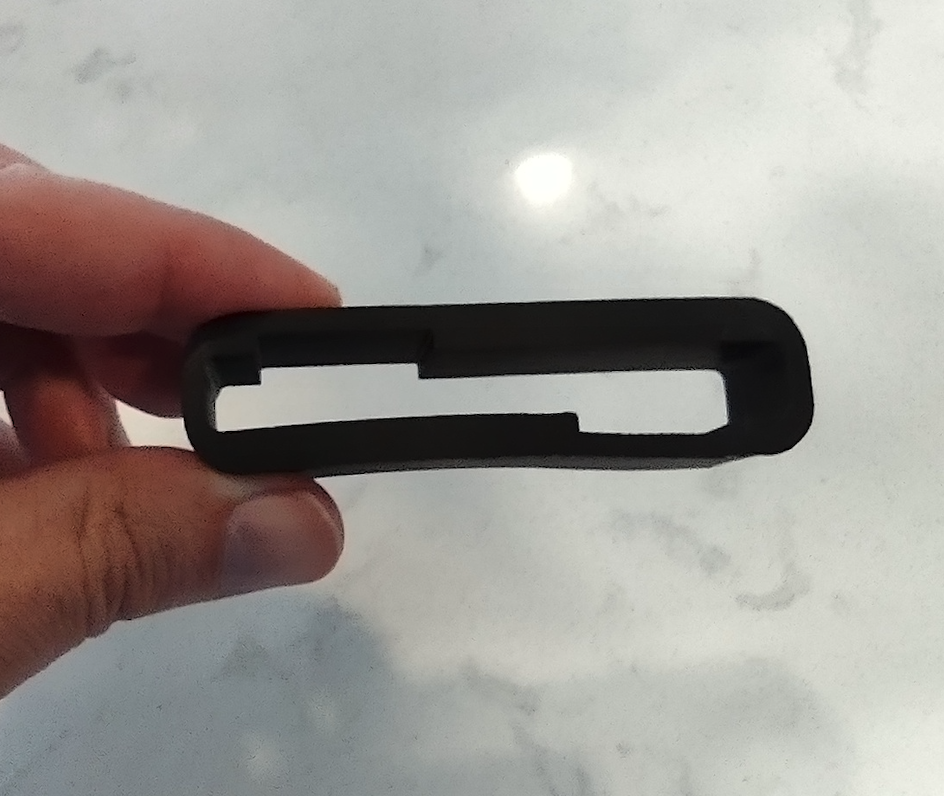
So my solution was to measure the slot and my phone and design and 3d print an exact-sized insert to hold my phone in any direction tight enough to prevent it wobbling when driving.
Tools
This project required a 3d printer, a measuring device, a 3d modeling/design program, and a 3d slicing program.
Step 1 - Measure

It seems like measuring should be easy and straightforward but anytime you are dealing with the physical world, it's going to take a few tries to get the printed model to do everything you want. In this case, it took a few iterations to figure out how wide the slot was and where the curves were on the edges and how tall the slot had to be to fit firmly in the original slot without moving. The best approach I found was to take a piece of paper and cut it to the size I wanted.
Step 2 - Design
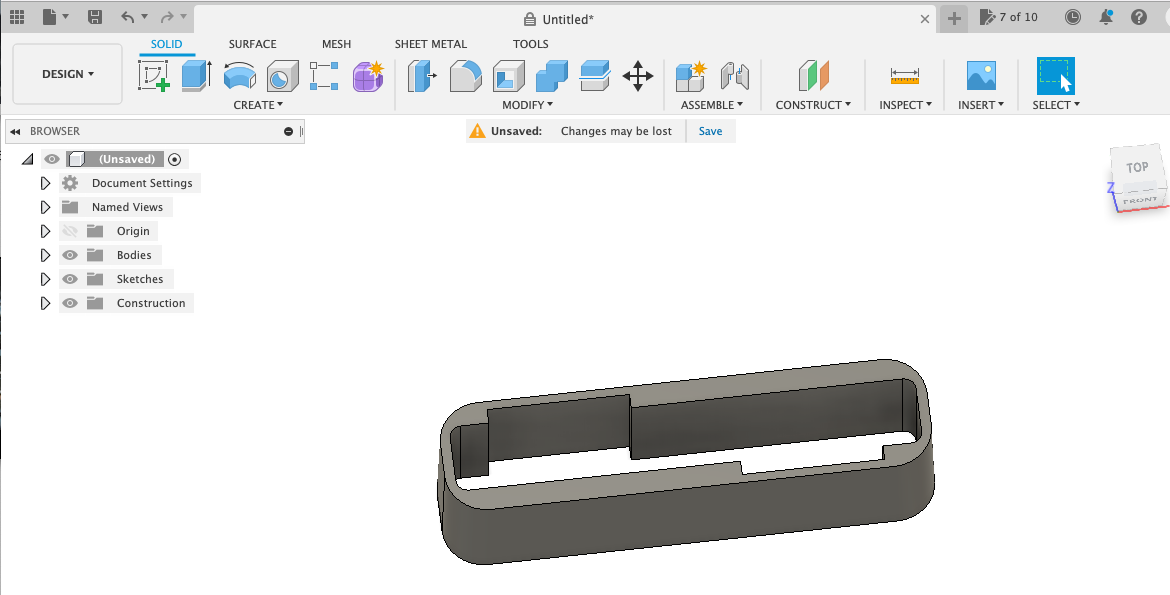
I used Autodesk Fusion 360 to create 3d print designs. In the early designs, I made the insert fit all the way to the bottom of the slot in the car. But after testing, I realized I only needed enough of an insert to stay in place and keep the phone standing in place. My final design was only 20mm tall. Very nice for iterating the actual prints because it's a lot faster to print and uses a lot less filament.

Fusion 360 is a great tool that allows you to easily stretch and change your designs over time (which you inevitably will have to do). If you are interested in getting into 3d printing, I highly recommend it. Also, there is a really good Youtube channel called Product Design Online with helpful tutorials.
Step 3 - Slice
I use Ultimaker Cura as my slicer. If you aren't familiar, the slicer software takes your design from Fusion 360 and lets you customize the way it will be printed including how much infill you use, how fast the print head moves, how fine the print lines will be, and on and on. A nice side property is that as you customize these settings, Cura informs you how long it will take to print.

Step 4 - 3d print
My first print worked great but it's summertime and the insert warped in the heat.  The reason it melted is because I was using PLA filament. PLA is great for getting very accurate prints with a lot of detail but it's a bad choice for anything that will be used outdoors. So I bought a roll of PETG filament. It's a little more finicky to print - requires slower first layers and a very flat print bed but it will withstand summer heat with no problem. Once I printed the insert using PETG and installed it, it's been working flawlessly.
Printer
I have an Anycubic i3 Mega printer. I bought it a couple years ago so there may be better options now but it was very reasonably priced and still is and is a very robust printer. No technical issues. It just works.


